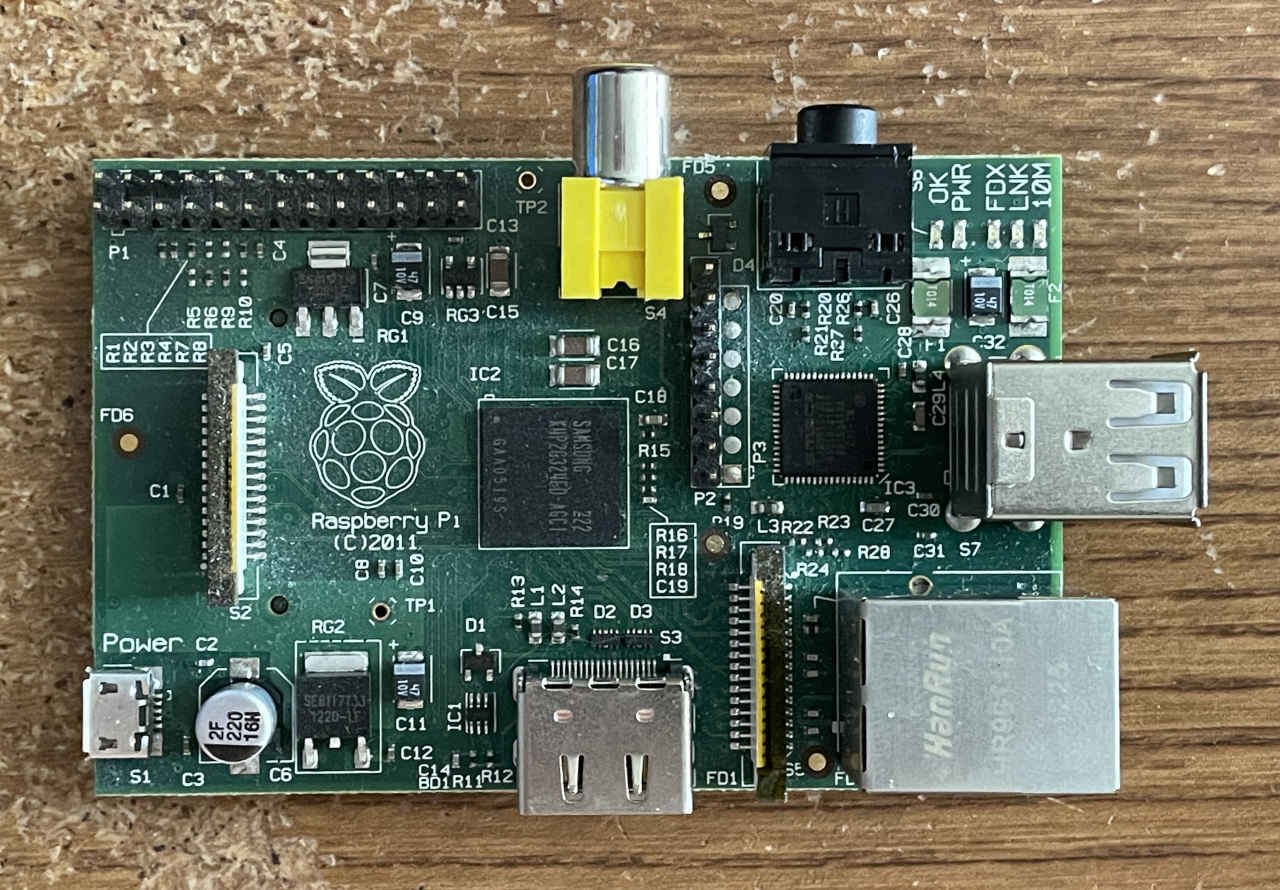
This weekend I tinkered with my ancient Raspberry Pi. It’s the original Model B from 2012 that only has 256 MB of RAM. I bought it in July of 2012 for $35, and then a few months later they started being manufactured with 512 MB instead. I wish I had waited a little longer to buy mine!
I’ve played around with it a little bit off and on over the years, like when I was working on some improvements for RPiPlay. But for the most part it just sits around doing nothing. I was inspired when I heard about someone who was recently having trouble playing video on their Model B+ 1.2.
They reported that while attempting to play a 1080p H.264 video file in VLC on the Pi, it would only play at about 3 frames per second, despite lots of Google searching and OS reinstalls. I had dealt a little bit with H.264 when I was playing with RPiPlay, so I was kind of familiar with the situation. I went ahead and imaged an SD card with the latest Raspberry Pi OS compatible with this model. According to the Raspberry Pi website, as of this writing the latest version is Raspberry Pi OS 32-bit from March 15th, 2024 with Debian bookworm and Linux kernel 6.6. I opted for the “with desktop” version so it would boot into a full-fledged OS so I could try VLC and other options.
I used the Raspberry Pi Imager software to automatically set it up with SSH and my own custom username and password. Then I inserted the SD card into my Pi and turned it on. It took a while to boot. It needed to do some first-time setup, but it eventually came up. I noticed something odd though. The splash screen showed up and told me about all the services that were starting, but after it was done and went away, the HDMI output just sat there as a black screen with a blinking cursor in the upper-left corner. I was expecting the full desktop to show up.
I SSHed into it, which luckily was working, and started looking around to see if I could figure out what was going on. By typing “ps ax” repeatedly, I noticed that Xorg was constantly getting a new process ID, which meant it was rapidly restarting over and over again. Dumping the Xorg log at /var/log/Xorg.0.log, I could see that it wasn’t able to find any displays, so it was immediately closing.
Fatal server error:
(EE) no screens found(EE)
Something (lightdm I think) was continually trying to re-run it over and over again, and it was immediately closing each time. The Xorg log file was being rapidly rewritten with each run attempt.
After some head scratching and random Googling that didn’t quickly turn anything up, I looked further and realized that none of the Linux DRM/KMS devices were showing up in sysfs at all:
doug@raspberrypi:~ $ ls /sys/class/drm/
version
Well that’s not right! I should have been seeing something else in there. After a little bit of research I found that the “vc4” kernel module is what provides the DRM devices, but it wasn’t loaded. So I tried manually loading it:
doug@raspberrypi:~ $ sudo modprobe vc4
doug@raspberrypi:~ $ ls /sys/class/drm/
version
Still nothing! What the heck? I had definitely played with a GUI on this thing back in the day, so I knew it was theoretically capable of working correctly on older OS versions. I wasn’t really sure what was going on. I tinkered with various boot options in /boot/firmware/config.txt. I just couldn’t figure out how to get it to work. Then I stumbled upon a very helpful GitHub issue about something DRM-related not working properly on the 256 MB Pi.
Reading through the comments, GitHub user (and Raspberry Pi engineer) 6by9 provided an answer, stating that “The 256MB Pis are severely constrained on memory.” I followed the same steps mentioned in the comment and looked at my “sudo vclog -m” output. Here’s the relevant line that popped up in the output:
002424.808: dterror: Overlay 'vc4-kms-v3d' needs at least 512MB
So yeah. That’s the problem. Raspberry Pi doesn’t do a great job of telling people this, but the desktop version of Raspberry Pi OS/Raspbian doesn’t work with 256 MB models anymore. There’s a warning message, but it’s hidden behind a command that I had never heard of until this weekend. As part of resolving the GitHub issue, 6by9 did update a README file in the Raspberry Pi kernel, which was great, but that doesn’t really help people who are just downloading the image from Raspberry Pi’s website and installing it. It would really be nice if there was a more accessible warning about this limitation! Perhaps if you pick a Raspberry Pi 1 in the Imager software and try to flash an image with the full GUI, it should give you a nice big warning that it won’t work properly if your device only has 256 MB of RAM.
It seems like the OS should probably detect the situation, inhibit Xorg from loading, and do something to alert you, like display a message on the HDMI output. Who am I kidding though? This problem only affects a minority of Raspberry Pi devices out there. I have a feeling I’m part of a very small subset of people who would run into something like this in 2024.
Anyway, the point of this post isn’t to complain about the Raspberry Pi’s documentation; it’s to describe how I got past this roadblock, and further investigate the H.264 playback capabilities of these older models in 2024.
6by9’s comment also provided some interesting hints about how to work around this problem. It turns out the check that causes the error above is done by looking at the name of the device tree overlay being loaded. So I just had to make a new one with a slightly different name:
cp /boot/firmware/overlays/vc4-kms-v3d.dtbo /boot/firmware/overlays/vc4-kms-v3d-256mb.dtbo
Then I just changed the corresponding line in /boot/firmware/config.txt:
dtoverlay=vc4-kms-v3d-256mb
But if you just leave it like this, you’ll probably end up with a non-booting Pi. Another point made was that you need to update the layout of reserved memory to something more reasonable for the limited RAM. I followed the same steps that 6by9 described, further changing the dtoverlay line:
dtoverlay=vc4-kms-v3d-256mb,cma-64
And also adding this line at the bottom of the file:
gpu_mem=48
With those changes in place, I rebooted. The full graphical interface came up! And as a sanity check, /sys/class/drm contained much more interesting stuff now:
doug@raspberrypi:~ $ ls /sys/class/drm/
card0  card0-HDMI-A-1  card0-Writeback-1  renderD128  version
That’s more like it! The vclog command also showed the newly copied DT overlay being loaded:
Loaded overlay 'vc4-kms-v3d-256mb'
The desktop was super duper slow to load though. I mean really really slow. I didn’t feel very confident that it would be capable of doing anything resembling 1080p video playback given how slowly everything ran. I think I was starting to see why they disabled it from working on 256 MB models in the first place. To be fair, this is a 12-year-old device at this point. I shouldn’t be surprised!
And yeah, playing even a 480p video is choppy for me when I attempt it inside VLC’s GUI in the full desktop environment. I knew that the hardware was technically capable of playing 1080p video, but it probably wasn’t going to happen inside of Xorg at this point.
I remembered playing around with OMXPlayer in the past. I could play a video with OMXPlayer and it would take over the screen and play the video. Unfortunately, OMXPlayer is deprecated now. It used OpenMAX, but the Raspberry Pi has been moving toward more standard Linux solutions like DRM/KMS instead. Plus, OpenMAX isn’t even available for 64-bit. So people on newer Pis booting into a 64-bit OS wouldn’t be able to use OMXPlayer.
With all that research out of the way, I bailed on the full desktop install of Raspberry Pi OS and switched to the minimal version instead. I think I also could have used raspi-config to tell the full desktop install to boot to the command line instead of the desktop environment. I figured a minimal install would be easier to deal with though. I made sure everything was up to date with “sudo apt update” and “sudo apt dist-upgrade” (which took a while to complete) and then repeated the steps I listed above to get the vc4 DRM/KMS module working in the minimal install.
Then I started experimenting with GStreamer and VLC to see what options there are in 2024 for playing videos in a way similar to how OMXPlayer used to do it, but without depending on OpenMAX. Here are a few options I pieced together. Getting audio working was a little tricky, but I figured it out.
Option 1: GStreamer
This seems to be the best all-around option, at the expense of more complexity involved in running it. GStreamer is capable of using the v4l2h264dec decoder in the video4linux2 plugin in order to make use of the BCM2835’s hardware H.264 decoding capability. It requires the bcm2835_codec kernel module which should automatically be loaded if you’re using Raspberry Pi’s OS images.
I installed GStreamer into my minimal image:
sudo apt install gstreamer1.0-plugins-{bad,base,good} gstreamer1.0-tools \
    gstreamer1.0-alsa
Then I started playing around. Here’s an example command similar to what 6by9 provided in an earlier link:
gst-launch-1.0 filesrc location=big-buck-bunny-1080p-30sec.mp4 ! qtdemux \
    ! h264parse ! v4l2h264dec ! kmssink
Playing the video by itself without any audio only uses about ~15% of the CPU, give or take a bit. That’s pretty good! To add audio into the mix, you have to grab both the video and audio from the demuxer. I did this by giving a name to the demuxer. Then you can refer to it multiple times in the pipeline. The BCM2835 doesn’t have any hardware audio decoding as far as I am aware, so you have to use software decoding instead. I am nowhere near a GStreamer expert so this all took a while to figure out. Here’s a sample command that plays the audio through the HDMI port:
gst-launch-1.0 filesrc location=big-buck-bunny-1080p-30sec.mp4 ! qtdemux name=demuxer \
    demuxer. ! queue ! h264parse ! v4l2h264dec ! kmssink \
    demuxer. ! queue ! aacparse ! faad ! audioconvert ! audioresample ! alsasink \
    device=sysdefault:CARD=vc4hdmi
Adding audio brings the CPU usage up to around 70%. So the audio playback actually uses up the vast majority of the processing power of the Pi!
I recorded the result of this command and uploaded it to YouTube so you can see how well the 256 MB Raspberry Pi does playing it back. It’s a 1080p24 video which I’m playing through the Pi’s HDMI port which is outputting 1080p60. This video is an excerpt from Big Buck Bunny which is a short open-source film often used for testing purposes:
Not bad, huh? It looked good here, but I have occasionally noticed momentary display corruption a few times with this setup, and very rarely, short audio cutouts. Video playback by itself seems pretty flawless. I think with audio also playing back there isn’t a lot of margin for error if anything else is going on with the system at the same time.
A few extra notes on this:
- The Raspberry Pi seems to be able to handle 1080p30 H.264 video, but 1080p60 video doesn’t work. It drops the vast majority of the frames, even when I only play the video with no audio.
- I saw some people using v4l2convert between v4l2h264dec and kmssink, but it doesn’t seem necessary at all.
- audioconvert and audioresample don’t seem necessary with the file I’m testing with. I left them in the command just in case they might be necessary with other files.
- The queuing became a requirement as soon as I started trying to play back audio at the same time. Without the queues added, gst-launch-1.0 just hung forever.
- You can play the audio through the 3.5mm jack instead by changing “vc4hdmi” to “Headphones” in the command. I also found that when playing Big Buck Bunny, the audio sent out the headphones sounded terrible. Something was screwed up. I think it was trying to combine 6 audio channels into 2 for the headphone jack and failing miserably or something. Changing the audio portion of the command to look more like this resolved it:
aacparse ! faad ! audioconvert ! audioresample ! audio/x-raw,channels=2 ! alsasink device=sysdefault:CARD=Headphones
I also came up with a more general way to run GStreamer that automatically figures out the pipeline it should use, and definitely still incorporates the hardware H.264 decoding:
gst-launch-1.0 playbin uri=file:///home/doug/big-buck-bunny-1080p-30sec.mp4 \
    video-sink=kmssink audio-sink="alsasink device=sysdefault:CARD=vc4hdmi"
Interestingly, this version of the command uses about 10% more CPU than when I manually set up the entire pipeline myself. I didn’t spend much time trying to figure out why that is though. It also doesn’t allow me to insert the workaround for the “6 audio channels” problem if I choose the headphones as my audio sink device.
Option 2: Command-line VLC
Based on what I’ve read, it seems like VLC is where a lot of effort has been put into making something that replaces OMXPlayer and OpenMAX. I decided to try getting a command-line version of VLC working the same way as GStreamer, where I could run it directly from the an SSH session and it would take over the entire display. First I installed it:
sudo apt install vlc
That’s easy enough. And here’s what I came up with for a video playback command using VLC:
cvlc --play-and-exit -V drm_vout -A alsa --alsa-audio-device "sysdefault:CARD=vc4hdmi" \
    big-buck-bunny-1080p-30sec.mp4
This command tells VLC to use the DRM system for video output, just like kmssink on GStreamer. Then it uses alsa with the exact same audio device. It works very similarly to GStreamer, but it seems much more likely to get hung up during playback and lose frames for a few seconds. I see messages like this get printed out and the audio will glitch out:
alsa audio output error: cannot estimate delay: Broken pipe
alsa audio output error: cannot estimate delay: Broken pipe
main input error: ES_OUT_SET_(GROUP_)PCR  is called too late (pts_delay increased to 1000 ms)
It might be possible to add some buffering to help with this issue. Adding another parameter like this:
--file-caching 2000
seems to maybe help a little bit, but overall this solution seems to be far less reliable than GStreamer. I’m pretty sure based on CPU usage that it’s still using the Pi’s hardware H.264 decoder, so I’m not sure why it’s so different from GStreamer. I tried switching from a Kingston 8 GB Class 4 SDHC card to a SanDisk 32 GB UHS-I SDHC card just in case that was the problem. I believe it helped a little bit with reliability, so I think the SD card is a factor at some level. But either way, even with the faster SD card, GStreamer behaves way better for me. I may repeat these experiments on something like a Pi 4 in the future to see if VLC’s reliability improves on a newer platform.
Concluding notes
I definitely got something (mostly) working, but it’s a little flakier than I was hoping it would be. I’m sharing this info in case it’s useful for people out there. OMXPlayer is no more, but there are newer alternatives. Special thanks to 6by9 for providing so many answers on the Raspberry Pi forums and GitHub about this stuff.
If I were starting on a brand new fun project dealing with H.264 playback, I wouldn’t pick a Raspberry Pi 1. At least with the modern software stack, the playback utilities seem to be cutting it just a little too close to maxing out the BCM2835’s capabilities. Use a newer Pi instead. Is only having 256 MB RAM the limiting factor? In this case with no full desktop environment running and GStreamer and VLC displaying direct to KMS, I really don’t think RAM is the problem.


If you’re just looking for something to make it usable again, maybe try RISC OS on it.
It is a fun FOSS GUI OS that is from entirely outside the entire Windows/Unix/C evolutionary tree. It ran in 512kB of RAM on an 8MHz ARM2 when new, so 256MB is a lot for it.
Very cool, thanks for the recommendation!
BTW, I somehow missed that the Raspberry Pi website already has some documentation on how to use VLC to play video from a lite install of Raspberry Pi OS. Of course, it doesn’t solve the 256 MB dilemma and also doesn’t mention the GStreamer commands, so I think this post still adds some value on top of their existing documentation.